

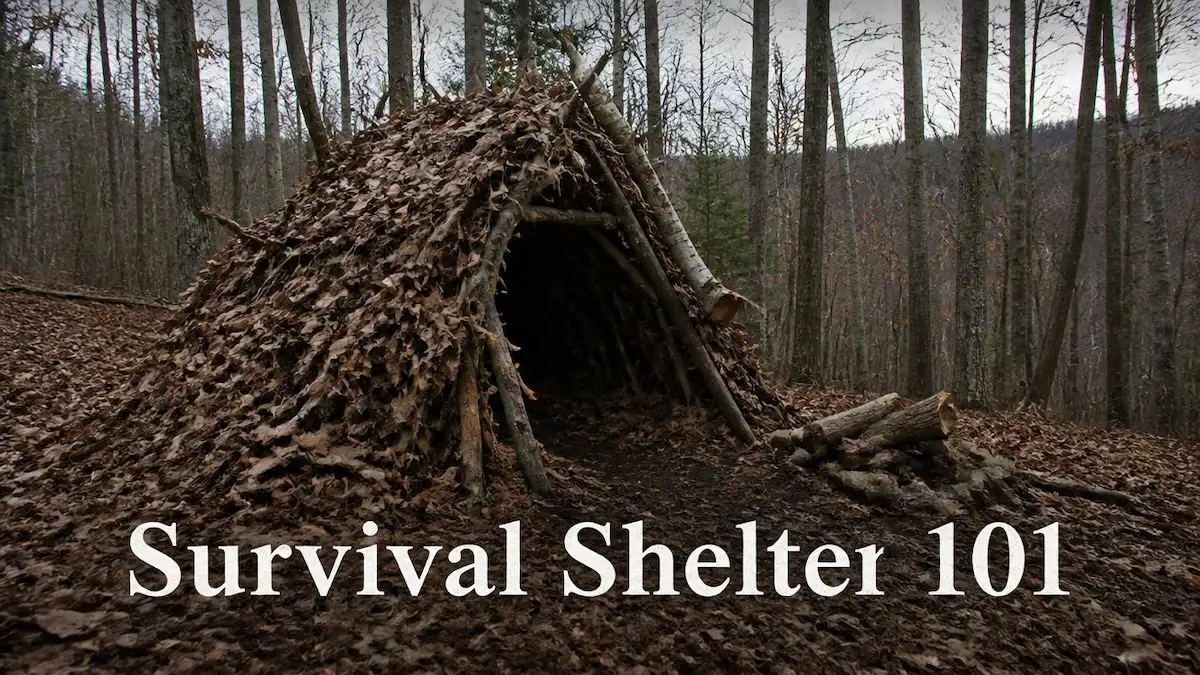
Built and Tested in Northern Michigan Backcountry — What Actually Works When Your Life Depends On It
OTL FIELD GUIDE Primitive · Tarp · Snow · Desert · Gear Picks | May 2026
⚡ TL;DR — Survival Shelter in 60 Seconds
Shelter is your first survival priority — not water, not food. Exposure kills in hours. The Rule of Threes says you have three hours in harsh weather without shelter before hypothermia becomes life-threatening.
There are two categories: primitive shelters built from natural materials (Lean-To, Debris Hut, A-Frame) and modern configurations using a tarp or poncho. Knowing both doubles your survival options.
The gear picks at the bottom of this guide cover the four items that extend every shelter’s effectiveness — tarp, paracord, folding saw, and emergency bivvy. All verified Amazon listings.
📹 Survival Shelter Myths That Could Kill You — Outdoor Tech Lab field notes from Northern Michigan
01 — Why Shelter Is Your First Survival Priority
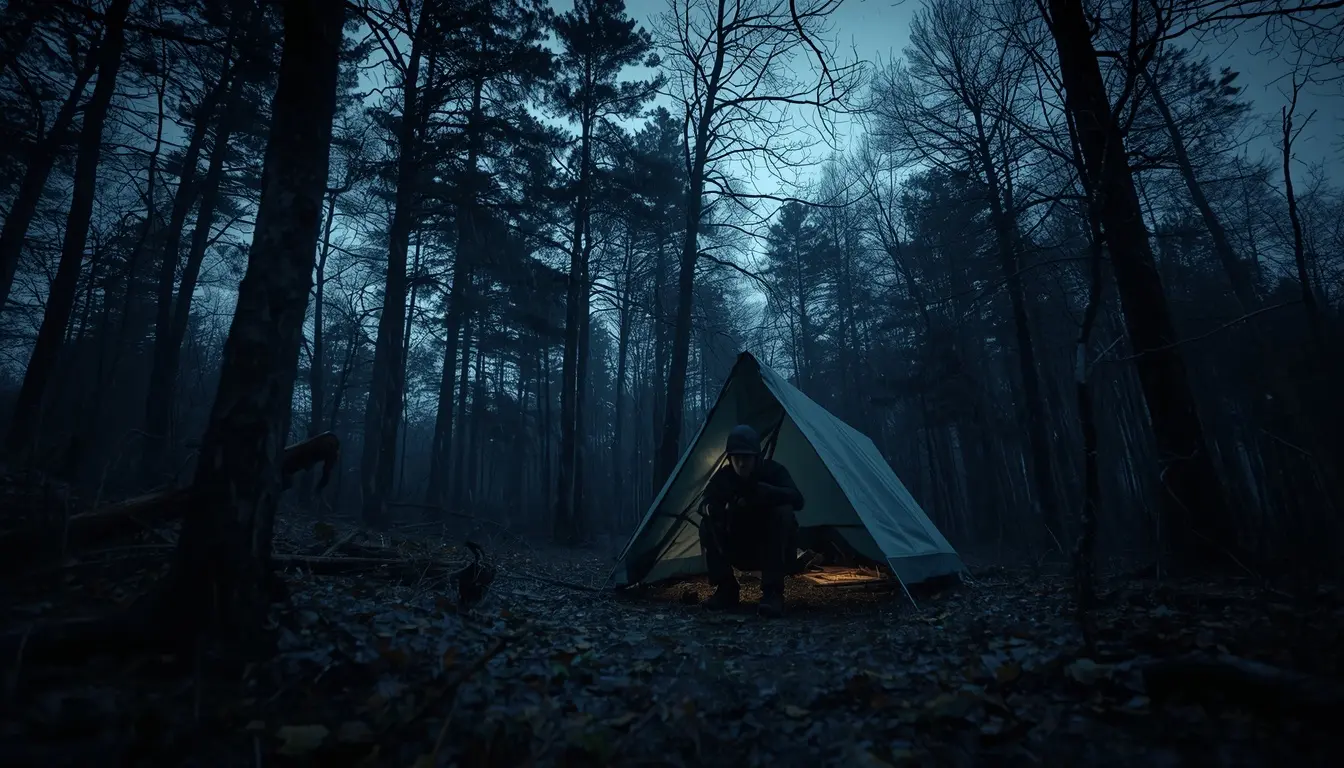
A survival shelter is your single most important priority the moment you realize you are spending an unplanned night outdoors. Not fire. Not water. Not food.
The Rule of Threes makes this clear: a person can survive three minutes without air, three hours without shelter in harsh conditions, three days without water, and three weeks without food. Exposure moves to the top of the kill list the moment temperature and moisture combine against you.
In Northern Michigan, that window is not a theoretical number.
Along the Pere Marquette River corridor in late September, overnight temperatures drop into the low 40s with high humidity. Wind off Lake Michigan drops the effective temperature further. A wet hiker in 45°F air with a 15mph wind is in genuine danger within two hours without shelter.
Hypothermia does not require freezing temperatures. It requires your core temperature to fall below 95°F — which wet clothing, wind, and exhaustion can accomplish in weather most people would call “cool, not cold.”
⚠️ The Rule of Threes — Survival Priority Order
• 3 minutes without air (or in icy water)
• 3 hours without shelter in harsh weather
• 3 days without water
• 3 weeks without food
Two types of heat loss kill in the field: convective (wind stripping warmth from your skin) and conductive (cold ground pulling heat directly from your body).
A good survival shelter addresses both. A roof stops convective loss. Ground insulation — addressed in Section 06 — stops conductive loss. Miss either one and the shelter is only half a solution.
And before you build anything, make sure someone knows where you are. Our Garmin inReach Mini 2 vs Mini 3 satellite communicator comparison covers the two-way emergency signaling layer that gets rescue moving while your shelter keeps you alive.
becomes critical
for hypothermia
builds in this guide
your shelter must stop
02 — Choosing the Right Site: The 5 Ws
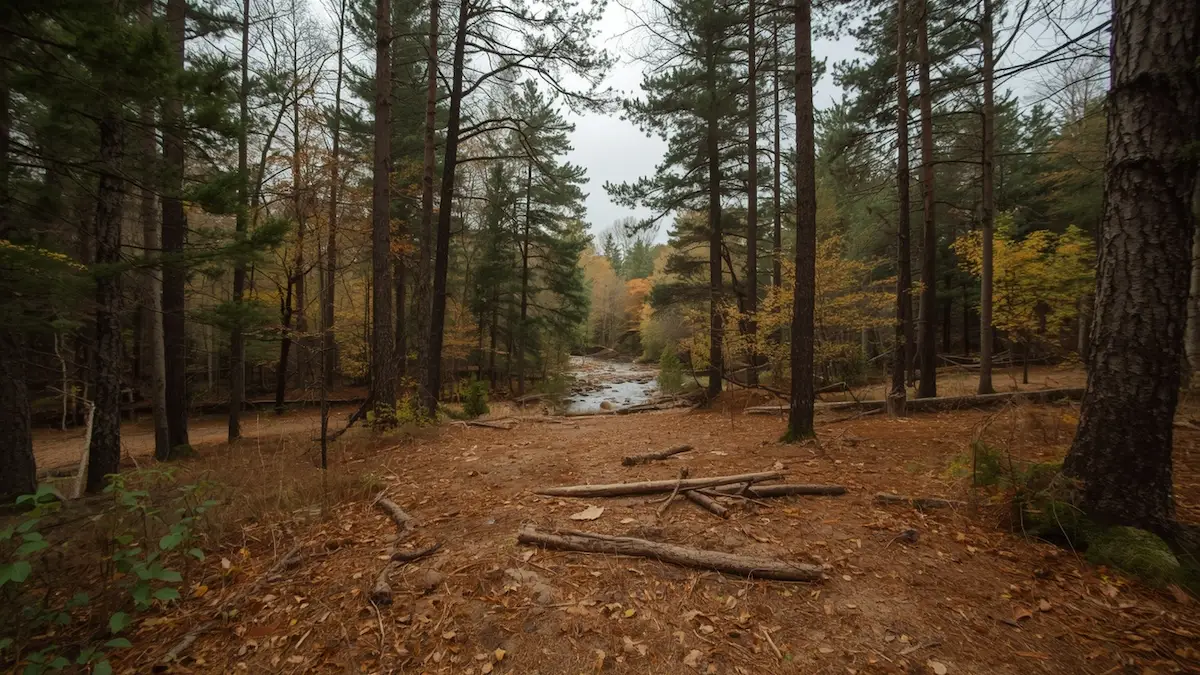
Where you build matters as much as what you build. A perfect lean-to in a flood plain or at the base of a dead tree is a liability, not an asset.
Use the 5 Ws framework before you commit to a location. For a broader camp setup checklist, our deer camp gear and essentials checklist covers the full overnight backcountry kit.
THE 5 Ws OF SITE SELECTION
🪵 Wood — Is enough building material within 50 feet? Hauling logs 200 yards burns calories you cannot afford.
💧 Water — Are you near a water source? Close enough to access, but not so close you are in a flood zone or insect swarm zone.
🌲 Widowmakers — Look up. Dead branches, leaning trees, and widow-maker snags can come down in wind or under snow load. Never shelter under one.
🌬️ Weather — Which direction is the wind coming from? Orient your shelter opening away from prevailing wind. Check for low-lying areas where cold air pools overnight.
🐜 Wigglies — Avoid ant hills, wasp nests, game trails, and standing water that attracts biting insects. Check the ground before you commit.
Elevation matters more than most beginners realize.
Cold air is denser than warm air and flows downhill like water. The valley floor that looks sheltered from wind is often 5–8°F colder than a hillside position 30 feet higher.
In the Manistee National Forest, that temperature differential between a valley bottom and a mid-slope position can be the difference between a manageable night and a dangerous one.
Orient your shelter door away from prevailing wind.
In Northern Michigan, prevailing winds come predominantly from the southwest in summer and northwest in winter. A shelter opening facing northeast takes full advantage of natural wind protection in both seasons.
Finally — keep your shelter small. A shelter sized just large enough for your body retains heat from your own warmth far more effectively than one with extra headroom. Every cubic foot of dead air space you heat is energy your body loses.
03 — Top 5 Primitive Survival Shelters (Natural Materials Only)
These five builds require nothing from your pack — only what the forest provides. Each has a different effort-to-reward ratio. Know all five so you can match the build to your energy level and available materials.
🪵 1. Lean-To Easiest Build
The lean-to is the fastest primitive shelter you can build. One sloped wall deflects wind and rain. Not fully enclosed, so it relies on a fire in front for heat — but when time and energy are short, it is the right call.
Best for: Mild conditions, short overnight stays, when fire is possible.
- Find two trees roughly 8 feet apart. Lash a horizontal ridge pole between them at chest height using paracord or natural cordage.
- Lean branches and sticks at a 45° angle from the ridge pole down to the ground to form the back wall.
- Layer smaller branches perpendicular across the angled poles — working from bottom to top like roof shingles.
- Add a thick layer of leaves, bark, or pine boughs over the framework. Aim for 12 inches of layering minimum.
- Build your fire 3–4 feet in front of the opening. The lean-to back wall reflects heat inward.
🍂 2. Debris Hut Best Thermal
The debris hut is the warmest primitive shelter in this guide — capable of keeping you alive in near-freezing temperatures with no fire, no sleeping bag, and no gear. The mass of leaves surrounding your body insulates like a cocoon.
Best for: Cold weather survival, no fire possible, maximum thermal efficiency.
- Find a ridge pole 9–10 feet long. Prop one end in the fork of a tree or on a stump at waist height, the other end on the ground.
- Lean branches along both sides of the ridge pole to form an A-frame ribcage structure — close enough that debris won’t fall through.
- Pile leaves, pine needles, and forest debris over the frame — minimum 2 feet thick on all sides. The more the better.
- Fill the interior completely with dry leaves — you will burrow into this pile for insulation from below and above simultaneously.
- Block the entrance with a pile of leaves or a large branch once inside. Your body heat warms the interior within minutes.
⚠️ Ventilation note: The debris hut is a sealed environment. Leave a small gap at the entrance or poke a small air hole near your head to prevent CO₂ buildup during sleep.
🏕️ 3. A-Frame Shelter Best Balanced Build
The A-frame is a fully enclosed debris hut variant with two sloped walls meeting at a central ridge. More enclosed than a lean-to, less labor-intensive than a full debris hut. The right middle-ground shelter for moderate conditions.
Best for: Rain, moderate cold, multi-night stays.
- Prop a long ridge pole horizontally between two trees or forked supports at about 4 feet high.
- Lean branches at 45° angles along both sides of the ridge pole to form the two walls.
- Layer debris and leaves thickly over both walls — bottom to top, shingle-style.
- Build a debris floor inside at least 4 inches deep before sleeping on it.
🏹 4. Wicki-Up (Tipi Frame) Best Wind Protection
A cone-shaped framework of poles lashed at the top and spread at the base — the same structural principle as a tipi. Wrap with bark slabs, large leaves, pine boughs, or a tarp. Naturally sheds rain and wind from all directions.
Best for: Open terrain, all-direction wind exposure, when tarp material is available.
- Lash 4–6 long poles together near the top using paracord or stripped bark.
- Stand the bundle upright and spread the bases into a circular pattern.
- Weave additional shorter poles horizontally between the uprights to create a framework.
- Cover with bark, pine boughs, large leaves, or a tarp from the bottom up. Leave a small smoke hole at the top if fire is planned inside.
🌿 5. Round Lodge Best Long-Term
The most labor-intensive build here — a dome-shaped structure using bent green saplings lashed into an igloo-like frame, then covered with bark, debris, or hide. Built for extended survival stays of multiple days or weeks.
Best for: Long-term wilderness survival, base camp construction, when energy and time allow.
- Drive a circle of flexible green saplings into the ground in a ring, spacing them 18 inches apart.
- Bend opposing saplings toward each other and lash them together at the top to form arched ribs.
- Weave horizontal branches between the ribs to create a lattice framework.
- Cover the lattice completely with bark slabs, large leaves, or debris — minimum 12 inches thick.
- Build a low doorway on the leeward side. Line the floor with thick debris before sleeping.
04 — Modern Survival: Tarp and Poncho Configurations
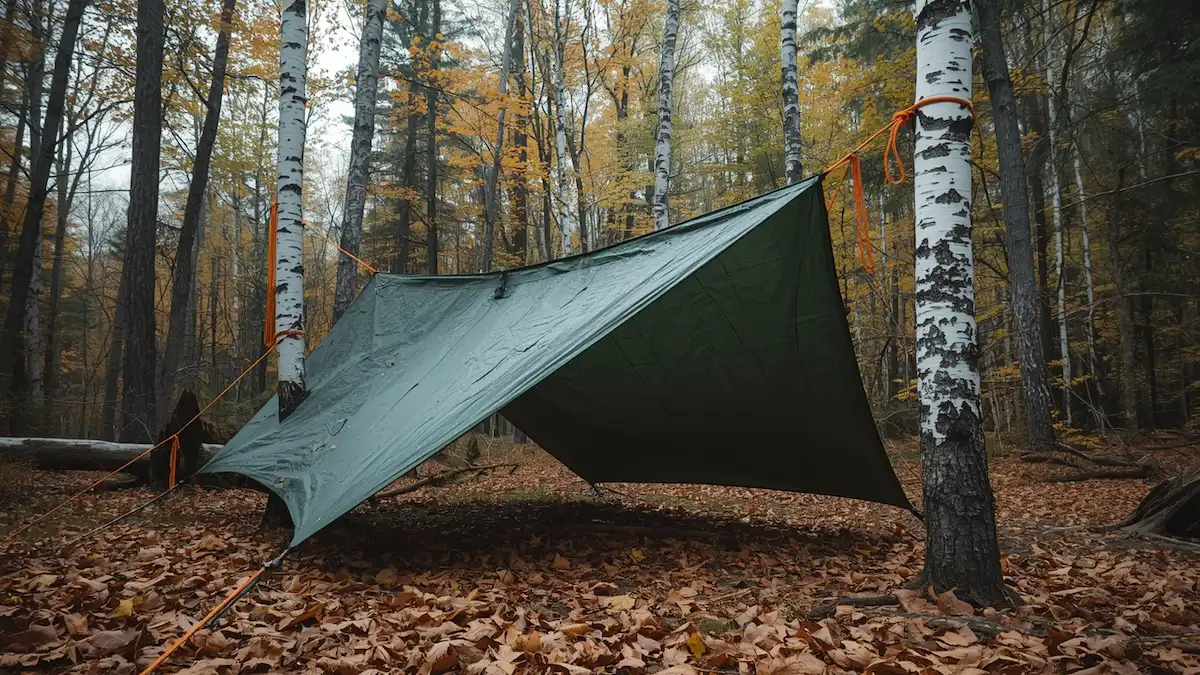
A tarp changes everything. What takes two hours with natural materials takes ten minutes with a quality tarp and 50 feet of paracord. In a real emergency where time and energy are critical, the tarp is the correct tool.
Three configurations cover the most common survival scenarios. Learn all three — each has different trade-offs on weather protection, speed, and material requirements.
A quality tarp is the single most valuable piece of survival kit you can carry. Waterproof, lightweight, and deployable in multiple configurations with nothing but paracord and a few stakes.
⚡ Tarp Wing — Fastest Setup
Setup time: 5 minutes | Best for: Rain, quick camp, mild wind
Run a ridgeline of paracord between two trees at shoulder height. Drape the tarp over the line and stake the four corners out at a low angle — two corners high on the ridgeline, two staked to the ground at 45°. Creates a large covered area fast with minimal fuss.
Trade-off: Limited wind protection on the open sides. Good for rain, not full storm conditions.
🔺 Wedge Tarp — Best All-Conditions
Setup time: 8–10 minutes | Best for: Rain + wind combined
Tie the ridgeline low — about 3 feet off the ground. Stake one long edge of the tarp tight to the ground on the windward side. The remaining sides form a wedge shape that sheds rain and deflects wind simultaneously. Low profile in high wind.
Trade-off: Cramped interior space. Not ideal if you need to sit up inside.
🏕️ Tarp Tipi — Best for Cold
Setup time: 10–15 minutes | Best for: Cold nights, small campfire inside
A single central pole props the tarp into a cone shape. Stake the perimeter to the ground and overlap the seam on the windward side. The cone allows a small fire in the center with smoke venting through the top gap. Wraps all the way around for maximum wind protection.
Trade-off: Requires a long center pole. Smoke management takes practice.
Every tarp configuration in this section requires paracord — for ridgelines, guy lines, and lashing. 550 paracord holds 550 lbs, resists UV and moisture, and can be unraveled for finer cordage in a pinch. The most versatile survival tool per ounce in your pack.
05 — Extreme Environments: Snow and Desert Shelters
Standard shelter principles apply in every environment — but snow and desert require specialized builds that address conditions ordinary shelters can’t handle. Snow shelters use the environment itself as insulation. Desert shelters must block radiant heat rather than contain body warmth.
❄️ Quinzhee — Best Snow Shelter for Most Situations
Build time: 2–3 hours | Interior temp: Near 32°F regardless of outside temperature
Pile snow into a mound at least 6 feet high and 10 feet wide. Let it sinter (harden) for 90 minutes — this step cannot be skipped.
Push 12-inch sticks into the mound all around as depth guides. Dig an entrance tunnel and hollow out the interior until you hit the sticks — the shell stays at a consistent 12-inch thickness. Interior temperature stabilizes near freezing even in -30°F outside air.
⚠️ Ventilation: Poke a ventilation hole through the roof with a ski pole or branch before sleeping. CO₂ accumulates in sealed snow shelters. Check it stays open throughout the night.
❄️ Snow Trench — Fastest Cold-Weather Option
Build time: 20–30 minutes | Best for: Open terrain, emergency overnight
Dig a trench just wide enough for your body and deep enough to get below the wind line. Cover the top with branches, skis, or a tarp and pile snow on top for insulation weight. The trench is fast, requires no sintering time, and gets you out of wind immediately.
Trade-off: Limited space, low thermal mass compared to a Quinzhee. Best used when time is short and conditions are desperate.
🌵 Double-Roof Desert Tarp — Best Desert Shelter
Build time: 15–20 minutes | Best for: Intense radiant heat, direct sun exposure
In desert environments, the enemy is not cold — it is radiant heat from the sun. A single tarp layer absorbs and radiates heat inward. The solution is an air gap. Rig a first tarp layer 12–18 inches above a second layer, creating a dead-air insulation buffer between them. The outer layer absorbs solar radiation. The air gap dissipates the heat before it reaches the inner layer where you shelter.
Orient the open sides to catch prevailing breeze. Shade is as important as shelter in desert survival — seek natural shade from rock overhangs, canyon walls, or vegetation first before building.
Critical: Dig down 6 inches into the sand if possible — ground temperature 6 inches below the surface is significantly cooler than the surface itself.
06 — The Secret to Survival: Ground Insulation and Thermal Mass
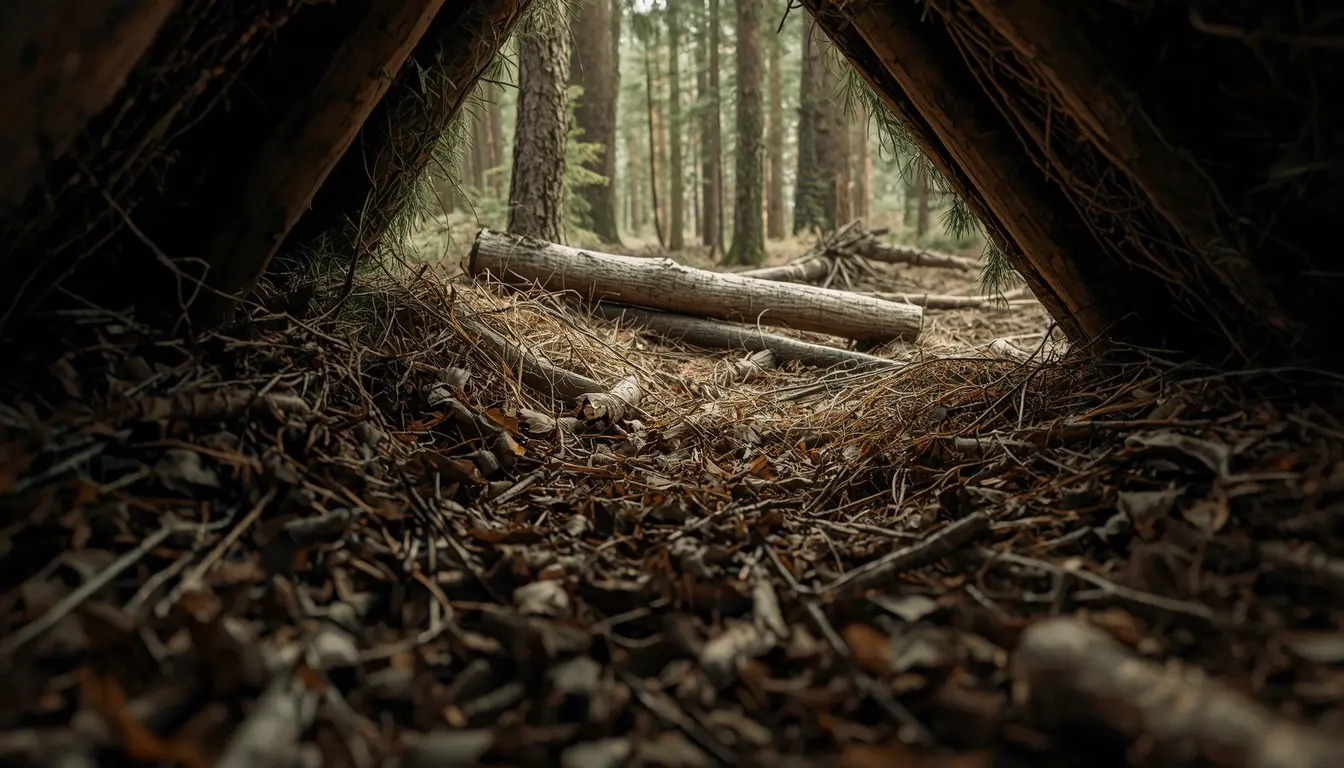
Most survival guides spend 90% of their time on the roof and 10% on the floor. That is backwards. The ground will kill you faster than the sky will.
Conductive heat loss — heat transferring directly from your warm body into cold ground — is far more efficient than convective heat loss from wind.
Cold ground at 40°F in contact with your body at 98.6°F conducts heat away 25 times faster than still air at the same temperature. Every minute you lie on uninsulated ground, your core temperature drops faster than if you were sitting in the open air.
The debris bed is not optional. It is structural survival infrastructure.
Build it before you need to sleep. Pile dry leaves, pine needles, cattail fluff, dry grass, or forest duff to a depth of at least 6 inches — 8 to 10 inches is better. Compress it under your weight and it will compact to roughly half that depth, which is still adequate.
Ground Insulation — Material Ranking (Best to Worst)
🥇 Dry cattail fluff — highest loft and thermal retention of any natural material
🥈 Dry leaves (oak, maple) — abundant, effective, easy to collect in volume
🥉 Pine boughs — good insulation, adds fragrance, readily available in Northern Michigan
4th Dry grass — effective but compresses quickly; pack thicker than you think necessary
❌ Wet or damp material — conducts heat away from your body; worse than nothing in cold conditions
When natural insulation is not available or conditions are too wet to collect dry debris — a quality emergency bivvy solves the problem instantly.
Mylar construction reflects up to 90% of your body heat back inward. Waterproof, windproof, and packs to the size of a fist. The insurance policy for any backcountry overnight — pairs with any shelter in this guide to eliminate conductive and convective heat loss simultaneously.
Thermal mass maintenance: if your shelter floor compresses during the night, you will feel the cold ground through it.
Add more debris before you go to sleep — not after you wake up cold. Rebuilding body heat from a cold core is far harder than preventing the heat loss in the first place.
You will also need reliable hands-free lighting while building and maintaining your shelter after dark. Our best rechargeable headlamps for camping and backcountry use covers the lighting options we have tested in Northern Michigan field conditions.
07 — Practice Before the Emergency
The worst time to build your first survival shelter is the night you actually need one.
Build a debris hut in your backyard this weekend. Time yourself on a lean-to at your next camping trip. Run a tarp wedge configuration in the rain to learn where the drips come from before your life depends on it.
Every shelter type in this guide has a skill curve. The lean-to feels obvious until you try to keep rain out of it. The debris hut feels straightforward until you realize how much leaf volume you actually need.
Wilderness First Aid certification teaches shelter theory alongside wound management and patient assessment for good reason — the skills compound. Our 20+ years of field testing in Manistee National Forest started exactly this way: building shelters we didn’t need in conditions we could walk away from, so the techniques were automatic when conditions changed.
Practice in low stakes. Perform in high stakes.
When your overnight kit extends beyond emergency shelter into a base camp setup, our off-grid solar power setup guide for remote deployments covers the power layer for extended stays.
Our top portable power stations for camping and backcountry use covers the battery options that keep lights, communicators, and devices running through a multi-night wilderness stay.
OTL Gear Picks: The Four-Item Survival Shelter Kit
Every primitive shelter in this guide is improved by at least one of these four items.
Together they cover every shelter scenario — natural build, tarp configuration, snow and desert extreme, and ground insulation. All verified Amazon listings with your Associates tag.
| Item | Best Used For | Where It Fits in This Guide | Link |
|---|---|---|---|
| Heavy Duty Survival Tarp | Tarp Wing, Wedge, Tipi configurations | Section 04 — all three tarp builds | Check Price |
| TECEUM 550 Paracord | Ridgelines, lashing, guy lines, emergency cordage | Sections 03, 04 — every build requiring cordage | Check Price |
| GROWIT Folding Saw | Ridge poles, framework branches, debris hut spine | Sections 03, 05 — any build requiring cut poles | Check Price |
| Zmoon Emergency Bivvy | Ground insulation, reflective heat retention, emergency backup | Section 06 — ground insulation and thermal mass | Check Price |
The tool that is always missing when you need it most. Triple-cut SK5 blade with 7 TPI teeth handles ridge poles, framework branches, and debris hut spines. Folds to pocket size, weighs next to nothing. A folding saw does in 30 seconds what a knife takes 10 minutes to accomplish.
Survival Shelter FAQ
What is the easiest survival shelter to build?
The lean-to is the easiest survival shelter to build. It requires only a horizontal ridge pole lashed between two trees, angled branches leaned against it, and a layer of debris for weather resistance.
Build time is 20–30 minutes with no tools. The trade-off is thermal efficiency — a lean-to is an open-front structure that relies on a fire in front of it for heat. In mild conditions or when fire is possible, it is the right choice. In cold and wet conditions with no fire, a debris hut provides far better thermal protection.
If you have a tarp in your pack, a tarp wing configuration is faster than any primitive build — rigged in under 10 minutes with paracord between two trees.
How do you stay warm in a survival shelter?
Staying warm in a survival shelter requires addressing both types of heat loss: convective (wind and air movement) and conductive (ground contact).
Most people focus entirely on the roof and walls — the convective layer — and neglect the floor. Cold ground at 40°F conducts heat away from your body 25 times faster than still air at the same temperature. A debris bed of dry leaves or pine boughs at least 6 inches deep is as important as the roof above you.
Additional tips: keep the shelter small so your body heat warms the interior; close the entrance with debris or a pack; wear a hat (30–40% of body heat is lost through an uncovered head); stay dry — wet clothing loses 90% of its insulating value.
An emergency mylar bivvy adds an additional layer of radiant heat retention inside any shelter and is the best single addition to cold-weather survival kit.
Is a snow cave safe?
A snow shelter — specifically a Quinzhee or snow trench — is safe when built correctly. The interior temperature of a properly constructed snow shelter stabilizes near 32°F regardless of outside temperatures, which can be 50–60°F warmer than ambient air in extreme cold environments.
The primary hazard is CO₂ accumulation. A sealed snow shelter is an airtight environment. As you breathe, CO₂ builds up and oxygen depletes. This is not a theoretical risk — it has caused fatalities in otherwise well-built snow shelters.
The fix is simple: poke a ventilation hole through the roof with a ski pole, branch, or trekking pole before sleeping. Check throughout the night that it has not sealed with ice. Mark it with a branch or pole so you can find it if the shelter drifts over.
The second hazard is collapse. A Quinzhee must be allowed to sinter (harden) for 90 minutes before hollowing — skipping this step risks collapse during excavation. Use the stick-depth guides described in Section 05 to maintain consistent 12-inch wall thickness throughout.
How much paracord do I need for a survival shelter?
For a basic tarp shelter, 50 feet of paracord is the minimum — enough for a ridgeline, two guy lines, and basic staking. For a more complex setup with multiple anchor points and a full perimeter stake-out, 100 feet is more comfortable.
For primitive shelter lashing — securing a ridge pole, binding the Wicki-up apex, or lashing framework branches — shorter lengths work fine. The inner strands of 550 paracord (the 7 interior threads) can be separated for finer lashing work without cutting into your main cordage supply.
General rule: carry at least 100 feet of 550 paracord on any backcountry outing. It weighs under 7 ounces and has more uses than almost any other piece of kit — shelter, gear repair, improvised animal snares, clothesline, emergency tourniquet wrap, and more.
What is the best survival shelter for cold weather in Northern Michigan?
For cold weather survival in Northern Michigan’s Manistee National Forest, Pere Marquette River corridor, and Nordhouse Dunes terrain, the debris hut is the most thermally effective primitive shelter when you have time and energy to build it.
The debris hut uses the mass of dry leaves surrounding your body as insulation — effectively a sleeping bag made of forest material. Built correctly with 2+ feet of debris on all sides and a fully filled interior, it can maintain livable temperatures in near-freezing conditions with no fire and no sleeping bag.
If you have a tarp, the tarp tipi configuration with a small fire inside is faster and nearly as effective. Combined with a mylar emergency bivvy for ground insulation, a tarp tipi with fire is the most practical cold-weather setup for most Northern Michigan emergency scenarios.
In winter with snow on the ground, a Quinzhee is the warmest option available — but requires 2–3 hours of build time and a 90-minute sintering wait before hollowing.
Should I build a fire inside my survival shelter?
In most cases, no. Building a fire inside a natural debris shelter risks setting the structure on fire — dry leaves and branches are highly flammable. The lean-to is the exception: it is an open-front design where a fire in front of the opening is part of the intended design, not inside the shelter itself.
The tarp tipi is designed to accommodate a very small fire at the center with a smoke gap at the top — but this requires a dirt floor, careful fire management, and constant monitoring. It is not a beginner technique.
Snow shelters (Quinzhee, snow cave) can accommodate a small candle or tea light for supplemental warmth — the snow walls will not burn. Do not use open flame inside a Quinzhee without confirmed ventilation.
The better approach for most survival situations is: build the most thermally efficient shelter you can, maximize ground insulation, and use body heat rather than fire to warm the interior. Fire is best used outside the shelter for warmth, water purification, and signaling.
Shop the OTL Survival Shelter Gear Picks
All links go to verified Amazon listings. Check current pricing before purchasing.
📚 Trusted Resources: Wilderness Survival and Backcountry Safety
🌲 USDA Forest Service — Huron-Manistee National Forests
Official guidance on backcountry use, camping regulations, and seasonal restrictions for Manistee and Huron National Forest land. Confirm current rules before any primitive camping or backcountry overnight in the forest.
Visit fs.usda.gov/huron-manistee →🏕️ Ready.gov — Emergency Preparedness and Survival Planning
Official FEMA emergency preparedness guidance covering shelter priorities, hypothermia prevention, extreme weather survival, and emergency signaling. The federal government’s primary resource for wilderness and outdoor emergency planning.
Visit ready.gov →Field-tested outdoor tech from Ludington, Michigan.
Updated May 2026 · Outdoor Tech Lab


Leave a Reply